What is Marker Tool and How to use it in Adobe Premiere Pro?
Today, in this busy world everyone prefers their work to be more efficient and convenient. Moreover, people who work in digital platforms such as video editor, graphic designer, digital marketers and others; time is most important money. Specifically, editing requires many types of organizations and lots of time. Adobe Premiere Pro is the only application that can help for a steady workflow. Yes, you hear right! It is a multi-purpose application which is used mostly in editing videos thus it can be useful for many other creative things as well. It comes with many cool options that help you to save your time for instance, working with markers.
This blog will be about a specific tool in Adobe Premiere Pro that is a “marker tool”. So, join me and here, I will be discussing how to utilize it and how it can be added to any clip or a sequence.
What is Marker Tool in Premiere Pro?
To begin with, it is very imperative to know the concept of using a marker. Generally speaking, everyone is aware that a marker is used to highlight the important part or when you don’t want to forget the information. This is how we all have been using a marker in our textbooks.
Similarly, there is not much of difference using a “marker tool” in the Premiere Pro as well.
Personally, I have been using the tool for three purposes that are:
- Identifying various clips
- Making notes for later edits
- Matching the audio and video.
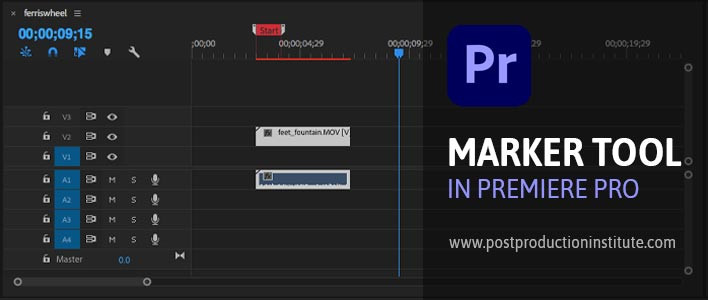
Where is this located in Premiere Pro?
Firstly, the “marker tool” can be found on left side of the timeline. It is shaped like a sticky note, cylindrical and pointed at the bottom.

How to use Marker Tool in Premiere Pro?
To add a marking point, you can either click on the “marker tool” or simply press the M key on your keyboard. Now, follow the below given steps to use this tool.
- Open the video clip on which you want to add marker by going in the source monitor
- Now, place the Playhead on the location where you want to add the marker.
- Finally press M key and you are done.
For reference, see below given image.
Types of Markers in Premiere Pro
There are four types you can choose from. These are: comment, chapter, segmentation marker and web link.
So, what these types really do. Let’s find out.
- Comment: This one is most commonly used for general annotations.
- Chapter: It allows jumping quickly to a specific point in a completed video.
- Segmentation Marker: It allows defining segments in a video.
- Web Link: Lastly, this allows you to add a URL link.
Interesting point: There are also different colors for different types of markers you want to add, which will be very easy to view and organize it.
For reference head to below given image.

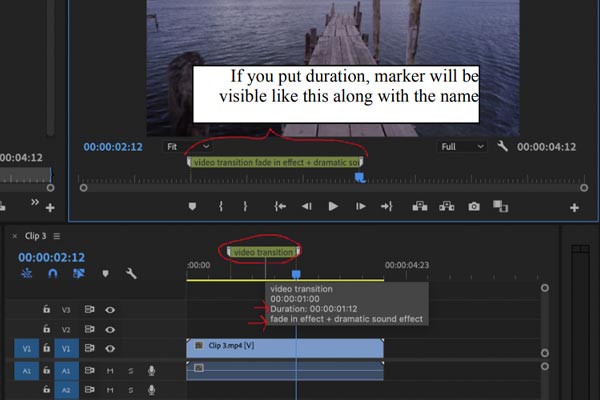
Interesting Feature of Marker Tool
Furthermore, one of the interesting features in the “marker tool” is that you can also set its duration and it will be visible at the top of the timeline along with its name and a comment that you have given which can help speed up your workflow.
For reference, image is given below.
How to Remove Marker?
To remove it, select the marker and click delete. If you want to remove all the markers, then you just have to right click on the marker and select “clear all markers”.
Important point: One thing that needs to be noted is that you cannot remove a marker by dragging it away in the timeline.
To sum up, these are the important points of how to utilize the “marker tool”. Also, I’ve tried to cover up all the important points I have been focusing on while using this in the Adobe Premiere Pro for working more efficiently. In order to learn more about these types of tools coming in Premiere Pro, you can pursue a complete Premiere Pro course from our training institute.
Go through the course curriculum and contact us to apply for a free counseling or demo session.
Author Introduction:
Hi, I’m Ushna a student of ADMEC Multimedia Institute; I’m studying video editing and video promotion here. My video editing course covers Photoshop, Lightroom, Premiere Pro and Social media marketing. It is a kind of versatile course.